Part 3: Testlink installation
About Testlink
TestLink is a web based Test Management and execution system. The tool includes test specification, planning, reporting, requirements tracking and collaborate with well-known bug trackers like Mantis, Trac and Bugzilla.
TestLink enables easily to create and manage Test cases as well as organize them into Test plans. These Test plans allow team members to execute Test cases and track test results dynamically, generate reports, trace software requirements, prioritize and assign tasks.
TestLink benefits:
- Open source so no costs
- Easy to use with multiple projects
- Central respository for all test cases
- Central repository for test execution results
- Report generation
Installation
If you downloaded the file in the host machine then you must copy testlink installation file to virtual server temporary folder. You can skip this step if you downloaded the file directly in the virtual server.
scp testlink-1.9.4.tar.gz root@10.1.1.2:/tmp
Now in virtual server as root go to temporary folder, extract installation file and move it to apache folder:
mv testlink-ga-testlink-code testlink
mv testlink /var/www
chmod 777 -R /var/www/testlink/
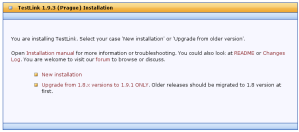
Open a web browser in the host machine and access TestLink using the following URL: http://10.1.1.2/testlink (remember to change to your IP). Select “New Installation”. If you want to install using virtual machine open a web browser and point to http://localhost/testlink.
UPDATE: For version 1.9.4 I had to create some additional folders. Otherwise the installation process will not start:
mkdir -p /var/testlink/logs
mkdir -p /var/testlink/upload_area
chown -R www-data.www-data /var/testlink
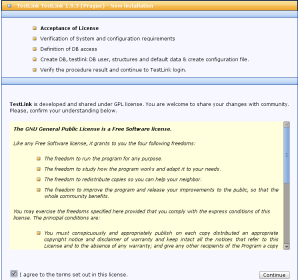
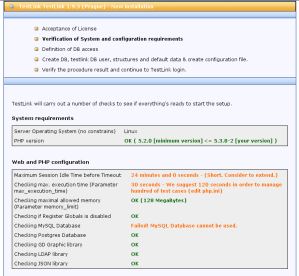
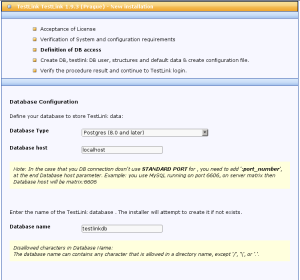
The install process is divided in 5 steps:
- Acceptance of License – Read and accept license by checking “I agree to the terms set out in this license.”
- Verification of System and configuration requirements – The installer checks your system to make sure all requirements are satisfied for installing TestLink. If your server is missing needed software for installation please install it. If you have been following this tutorial series it should be ok and no other action would be necessary at this point. When “Your system is prepared for TestLink configuration (no fatal problem found).” message is shown, click on “Continue”.
- Definition of DB access – We have installed PostgreSQL in our server so let’s use it. TestLink also supports MySQL. Type ‘testlinkdb’ for database name field.
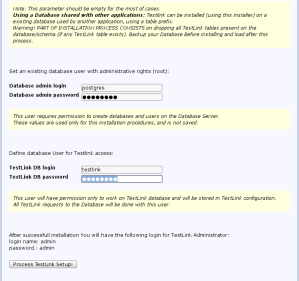
- Create DB, testlink DB user, structures and default data & create configuration file. – Fill in with postgres user and password (remember in last tutorial we changed the password to ‘postgres’). Enter with the non root user you created during Debian installation for testlink DB login and choose a password.
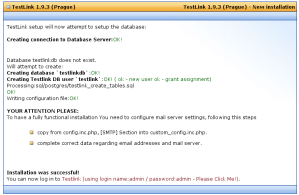
- Verify the procedure result and continue to TestLink login – Verify if the install procedure was finished with success.
Enabling XMLRPC
XMLRPC is disabled in the default installation. We need to enable it to allow automated tests to run. To do that open /var/www/testlink/config.inc.php file and change the following variables:
$tlCfg->api->enabled = TRUE;
$tlCfg->exec_cfg->enable_test_automation = ENABLED;
Restart apache:
apachectl restart
